Search Results: Dominique-Alexis

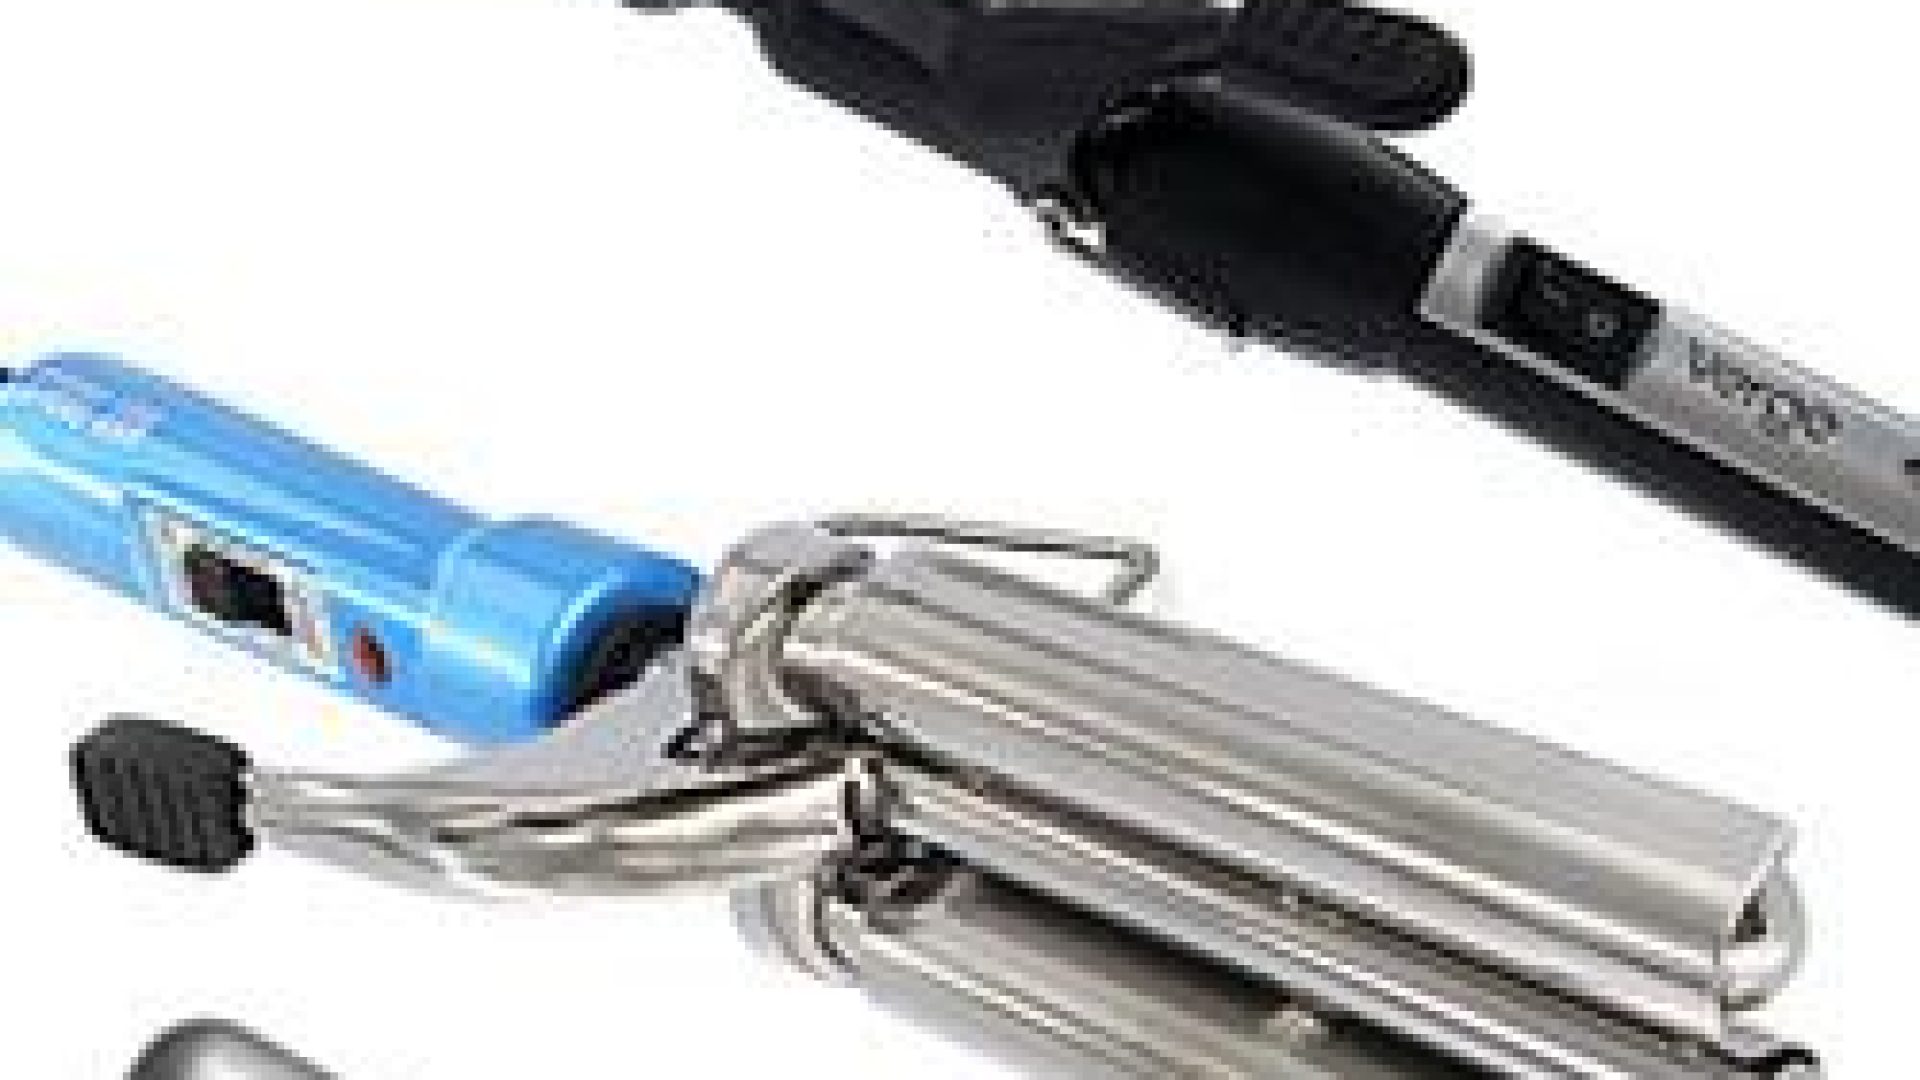
Hot tools like Marcel irons and curling wands are easy, convenient means for curling your hair. An important thing to know and remember is that because tools can be very hot, they can cause damage to your hair if used incorrectly. There are three ways that heat weaken and damage hair.
The first way is by weakening and destroying the proteins that hair is composed of. Secondly, heat can disrupt the oils that help keep the strands together in the hair. And lastly, heat will dry out hair by withdrawing the internal moisture. If this happens too often, hair can be damaged easily through daily styling, which leads to split ends and breakage.
7 Steps to Minimize Curl Wand Damage
Curly hair is incredibly versatile. It can be straightened, curled, braided, and colored, just to name a few of the options that you have. Color can be either permanent or temporary, depending on how comfortable you are committing to having your hair color altered.
There are four basic types of colors: temporary, semi-permanent, demi-permanent, and permanent. The first type is temporary, which includes hair chalks, colored shampoos, and spray on color. These won’t damage your hair and allow for a little color to be added. Second, there are semi-permanent colors. These last for a few weeks at a time. Demi hair color lasts slightly longer but will eventually fade the same way that semi does. The last choice is permanent hair dye and this takes much longest to fadest.
As a Paul Mitchell cosmetologist, I do color all day, everyday and have discovered that they are many pros and cons to coloring your hair. I’ll list three of each here.
 Pros
Pros
Time for a change
Whether it’s a streak of pink, a full-head color, highlights, or ombre, dying your hair allows for a change of appearance. It can be as subtle or dramatic as you would like.
Enhance your appearance
Are you tired of the same old look? Darker hair generally makes for a more dramatic, mature look while lighter hair makes you look younger and can give you a fresher appearance.
Be trendy
Let’s face it, everyone is doing it! Whether it’s to help you get over a break up or if you want to embark on a new career path, a new hair color can be just what the doctor ordered.
PICTURED: NATURALLYCURLY READER KRISTEN
Cons
Requires maintenance
I don’t think this can ever be stressed enough. Full-head color needs to be touched up every four to six weeks and highlights every eight to ten weeks.
May cause damage
Colors and dyes use a high pH to force the hair strands open and deposit color into them. This process can be incredibly damaging to your hair if improperly cared for before, during, and after the chemicals are applied to your hair.
Can be expensive
Believe it or not, but salon visits cost money. Make sure you sit down with your stylist before you begin and discuss what you are willing to budget for the color application and touch-ups!
I love coloring my hair. I think it’s a fun way to change your style up without having to cut your hair or alter the curl pattern. Talk with your stylist and together you can formulate a color and schedule that work for both you and your curls!


