Search Results: Paville Aldridge

Having short hair is supposed to make a statement and show how bold you are. When you decide to cut your hair you should still be able to have fun and not feel limited to one or two certain styles. That’s why I am going to show you another option for your short and sassy do, a Flexi rod set!
Start with freshly washed hair and apply your leave in and oils that you prefer.
Step 1: Section your hair in small sections.
How you part your hair strongly determines how your hair will lay. If you want a part in your hair now is the time to section your hair to achieve that end result.
Step 2: Apply your product that holds your hair the best.
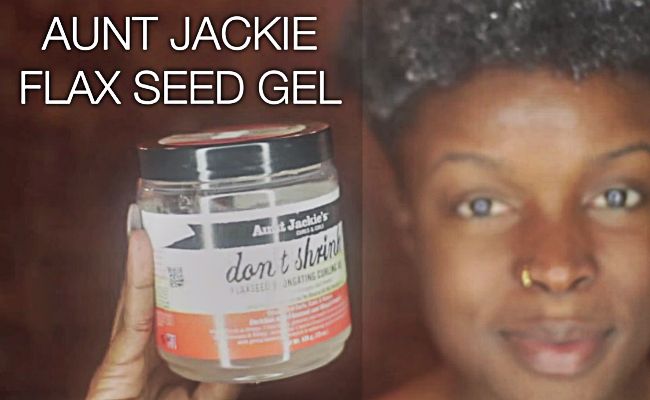
I used Aunt Jackie’s Flaxseed Gel. Only use a little bit of product to avoid any flaking in your hair.
Step 3: Wrap your hair around the Flexi rod making sure your ends lay flat.
Curl your hair away from your face. (I used 3/8 sized Flexi rods”>. Let your hair air dry or sit under a dryer.
Step 4: Take down your rods.
Step 5: Saturate your hands with desired oils and begin to separate the curls.
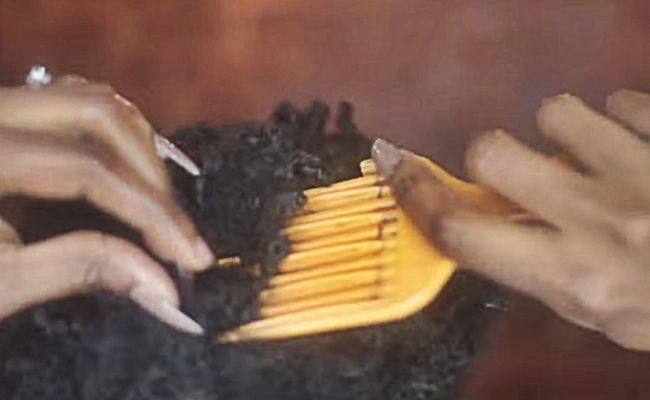
Step 7: Use a pick to fluff your curls.
Voila! You know have fluffy Flexi rod curls on your short natural hair. Follow me @Pavilleis on Instagram for more.
Tip– Smaller rods make it easier to curl your hair. I recommend 7/16, 3/8 or 1/4″ rods.
How many times have you ever done a Bantu Knot Out and it failed?
The thing about Bantu Knots is that you may do them perfectly and they will turn out not so perfect. This uncertainty of not knowing on what level of fleekness your hair will be on or lack there of can be intimidating. Well I am here to hopefully help you make sure your hair fleekness is all the way turned up–even if you have short hair like mine!
1. I started off with freshly washed hair. When styling my hair is damp that is the way I prefer my hair when styling.
2. I decide on how I want to part. (If you plan on wearing the knots for a while before taking them out I suggest that you make the parts neat.”> Since I have shorter hair I make sure that the parts are smaller so I can achieve an even section of hair to twist.
- Side note: There are two methods that I know of that you can apply to each section of hair..Two strand twists, or Coiling. I chose to coil each section and then wrap into the knot.
3. I apply a small amount of product to each section of my hair. I used the SheaMoisture Gel Soufflé all over the section, and Curls Passion Fruit Control Paste at the ends. I love the Gel Souffle because it provides so much shine to my hair and you only need a little bit of it.
4. After I applied my products I combed through the hair and coiled the section until it was taught and wrapped it into a knot. I did not use bobby pins. I just tucked the ends under the knot.5. Finally, after a entire night of my hair being styled in bantu knots, I sprayed a little oil onto my hair and took them down gently one by one. I had to pick my hair to add volume and make the parts les noticeable. But overall I ended with very shiny well-defined hair.
Watch the tutorial
So yes ladies, it is possible! Short hair, or long you can achieve a successful hairstyle with patience.
We want to see your bantu knot-out photos!
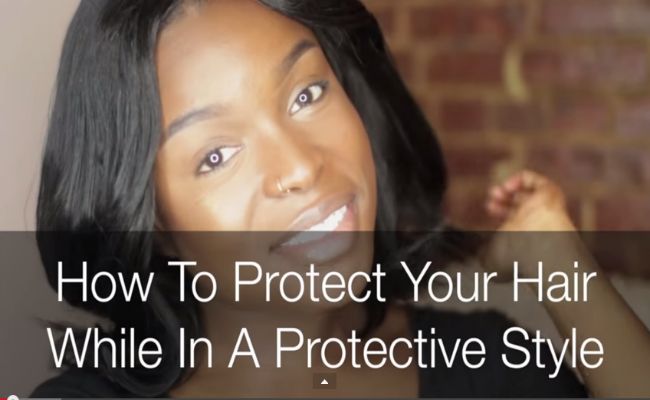
[prodmod]A lot of people often ask me how to protect their natural hair healthy while rocking a protective style wig. If you stay tuned and watch my video below I will give your more information on a giveaway. I will quickly run through a quick tutorial of how to protect your natural hair and install a wig on top of it with minimal breakage.
Seal in moisture throughout the duration of your protective style.
I am guilty of spraying my hair down, trying to shrink it as much as possible, and then putting a wig cap over it. This sometimes causes breakage and lumpiness when wearing a wig. Make sure you continuously moisturize your hair in preparation of wearing a wig. I use the SheaMoisture Yucca & Baobab Frizz-Free Shine Mist because it does not give cause scalp build-up, it’s moisturizing, and the ingredients prevent breakage. It’s also convenient to seal with because of being in a spray bottle.
Flat twist with your part in mind.
I flat twist my hair to make sure all of the ends are sealed and tucked away, so they cannot come out. I also make sure that I braid keeping my part in mind. For this style since I want a middle part, I twisted around my middle part so I don’t have to worry about messing with my wig during the week.
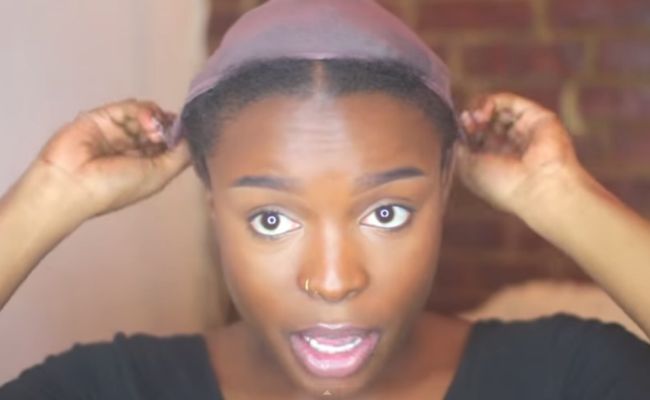
Get a wig cap that fits.
If you can find a spandex cap that securely fits your head, that is important. Today I am wearing a taupe one, but usually I like to wear a black one. I keep my front edges out and then push back or cover any other hair. I have a ‘petite’ head–my measurements are according to EvaWigs’ buyer’s guide.
This wig comes with two clamps on either side by the ears as well as a clamp in the middle. It also has an adjustable band. I did not secure the band in the back. That will bring more attention to the side clamps by my ears. I like to create a “messy” loose curl on this straight hair; I am going for a Kerry Washington-esque hairstyle.
The giveaway!
You will receive a $200 gift certificate that can go toward any wig by EvaWigs!
First, subscribe to my YouTube channel- Paville Aldridge. Follow @EvaWigs, @NaturallyCurly, and @Pavilleis on Instagram. Repost the pic on my Instagram account and use the caption that you see in my caption. I will choose the winner April 24, so the giveaway closes on April 23, 2015. This giveaway is open internationally.
Style 1: Front side twist
-
I started with my hair in its “failed state” I didn’t add any extra product to my hair. I began with parting the front section of my hair
-
After finishing my desired parting I began flat twisting my hair to one side
-
Finally I tucked the remaining piece with a bobby pin and fluffed the rest of my hair for the completed look
Style 2: Middle Part Mini Puff
-
First I started with putting a neat part in the center of my hair
-
I smoothed down my hair (gel is optional”> and place bobby pins to help hold down my hair where needed
-
I used Ampro gel to smooth down the edges and brushed them down
- Finally I picked out my fro in the back to get the completed look
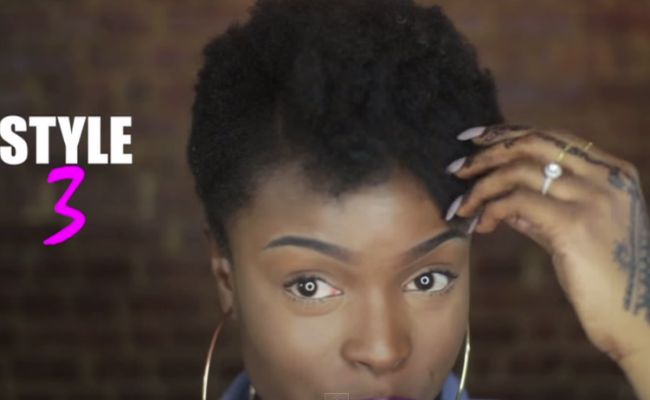
Style 3: Shaped Fro
-
I decided to go with a deep side part
-
To shape the fro to a more tapered appearance I used a Shea Moisture Thickening Spray on the sides making sure to avoid the front portion of my hair to avoid shrinkage
-
I placed bobby pins by the part to keep the hair on its respective sides
- I fluffed out the top in the front to add volume and that gave me my completed look
And voila!
There you have three quick simple and easy styles to fix a failed twist out when you have somewhere to go. I recommend that if you are going to use any products that you are very light handed. When styling my hair the previous night I used Miss Jessie’s Curly Pudding and sealed with coconut oil. [prodmod]Watch the full video tutorial
Are you interested in trying out a protective style this winter? We now have so many options for wigs at our fingertips, there’s just one thing: many of them are available online. With a wig you really want to be able to feel the texture of the hair, try it on, and find the best method of applying it. When that’s not an option, an in depth review is your next best bet. Here is vlogger Pavilleis’s review of the EvaWigs Kinky Straight Wig.
Specifications
- Hair Color: 1B
- Cap Color: Medium Brown
- Length: 22″
- Texture: “Kinky Straight”
- Brand: EvaWigs
- Cap construction: 3A
- Cap size: petite
- Baby hair: no
- Bleached knots: yes
My Review
This wig tops all wigs. I decided to stop cutting my hair–for now–to see how it grows out. So I have officially entered the protective styling phase of my natural journey.
I love the construction, the texture (it’s super soft”>, I love this hair. It holds a wand curl well. As much as shed hair, it is a well-constructed cap, and does not shed much. I can easily put it into a ponytail; it lays flat and natural. Customer service was awesome and helpful. I’m 5 feet tall, so the hair falls right at my lower back.
Know your head shape and scalp color. That will affect the overall look. If it’s too dark, you can add foundation to blend it in with your scalp’s color. I went with a medium-brown cap.
Want to know how I applied this wig? Watch the video below.
BONUS
Enter this discount code when shopping online with EvaWigs: Pavilleis4u | Here’s the link to their website.
This review was not sponsored.
 Paville (YouTube: Paville Aldridge, Instagram: Pavilleis“> shares tips on caring for type 4 TWA natural hair.
1. Why so complicated?
Cutting your transitioning hair or doing a big chop is exciting, but don’t overdo it on the regimens, treatments, and methods. In the long run, you may cause more harm than good.
2. Learn your hair
Whenever your hair is short, you get to figure out easier what products are working for you.
3. Consistency is key!
If it works for you, do that. Stay consistent. Over time, your hair will start to flourish because of your healthy habits.
4. Moisturize your hair
This is an important part of haircare; you want to prevent as much breakage and hair fall as possible. Seal in all the moisture you get!
5. You’re not limited in styling
From time to time, I like to do twist-outs, blow-outs, or put my hair in a puff. As long as you have an inch of hair to work with, you can try these. I also like protective styles. Just remember that they’re not harming your scalp and edges, and they are PROTECTING them!
6. Condition, condition, condition!
You need that in your life! When I first BC’d, I conditioned more frequently. To this day, I condition every week for soft, supple natural hair.
7. Protein balance
Every 4-6 weeks I do a protein treatment on my hair. But going back to tip number 2: find out what your hair specifically needs, first.
8. Low-manipulation
You want the thick ends and edges to NOT be see-through. Keep this in mind while styling. Make sure you apply coconut oil whenever you are working with your hair. And make sure your nails are filed and not jagged, as this can add to breakage. Also, sleep on a satin or silk pillow case and use a bonnet! No cotton!
To sum it up
Have patience. Take care of what you have, now. You don’t want your hair to be “ragged & jagged” !
Watch the video
Stay tuned for Paville’s next video on tips for growing out your tapered TWA cut. Don’t forget to like the video, comment, and subscribe!


